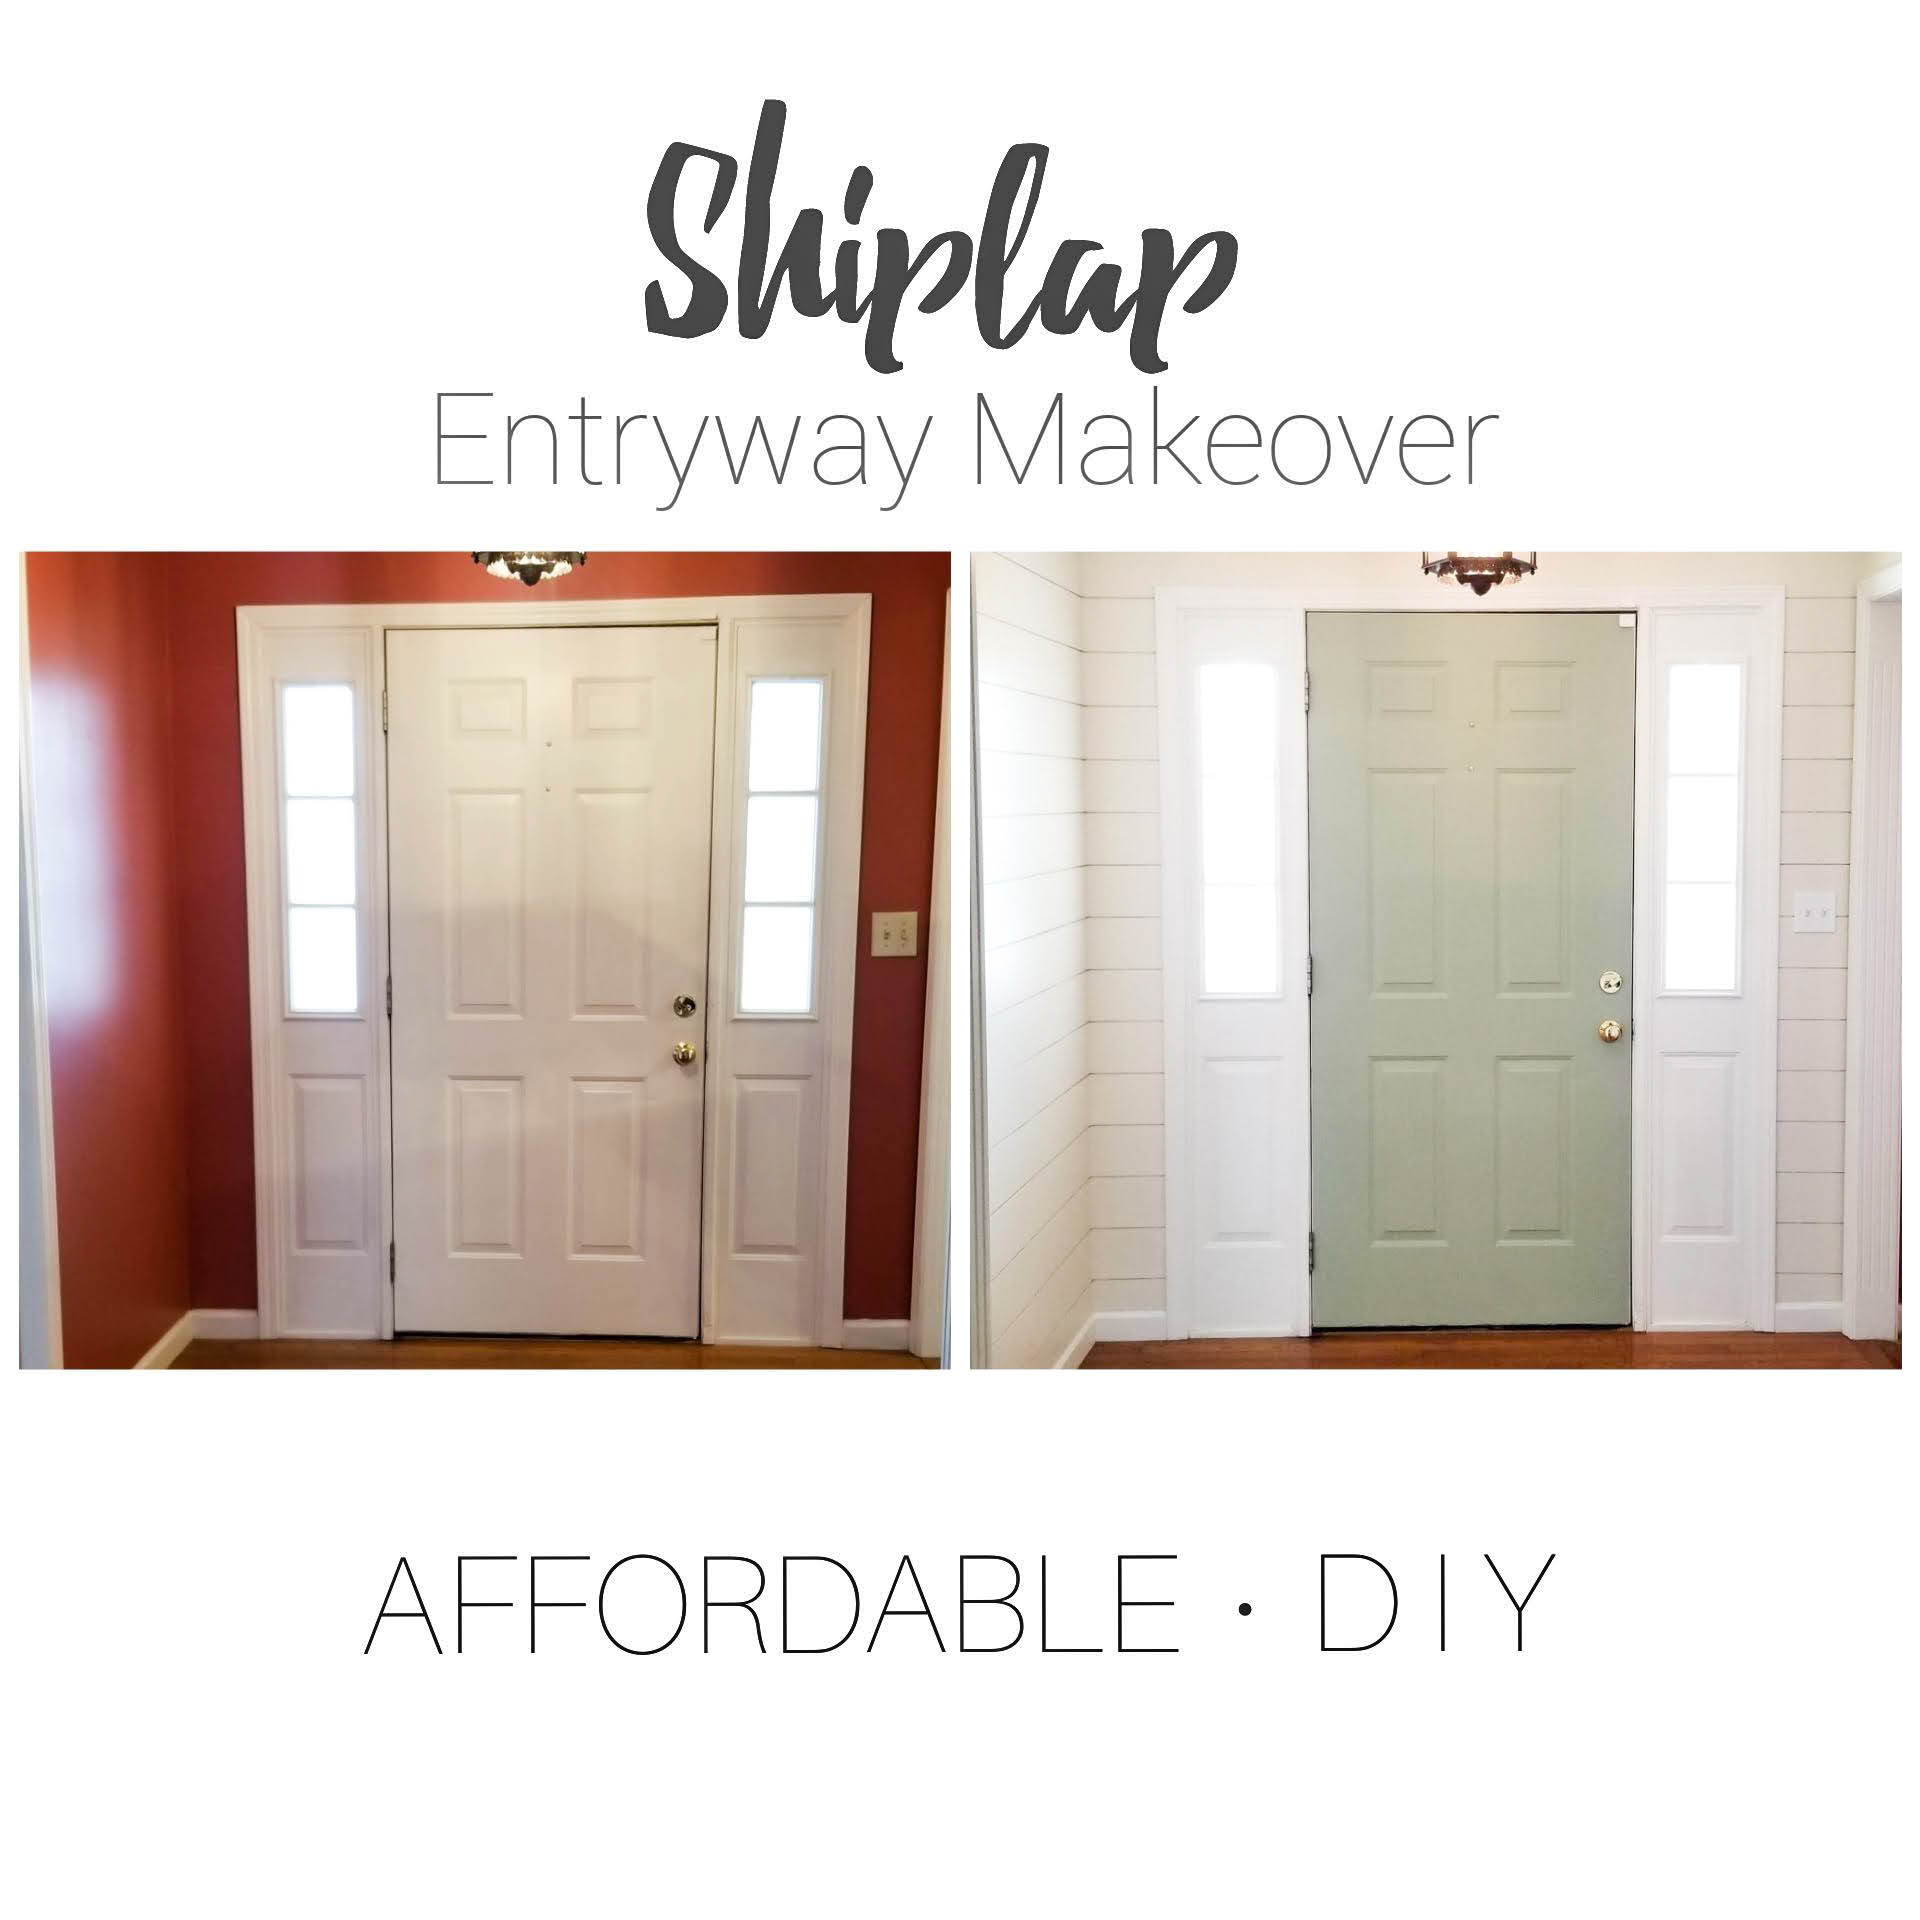
This DIY budget-friendly shiplap transformed our entryway in a single weekend! I absolutely love how it brightened and refined the space.
We’ve wanted to share this project here on the blog ever since we knocked it out in 2020…. but we’ve been a lil’ busy with a dozen other house projects since then, haha… so today is FINALLY the day!! 🙂

Yes, you can totally purchase pre-made shiplap from your local home improvement store to make this project even easier… However, if you’re trying to stretch your dollars, you can create this fabulous shiplap finish at a fraction of the cost! 😉
The basic supplies are simply
1) sanded 1/4″ plywood
2) a table saw (+jigsaw for small cuts)
3) adhesive
4) pin nailer
3) paint!
The Process:
1) cut your 1/4″ thick plywood into shiplap “boards” – ours were 5.5″ wide

2) Cut & install – start from the ceiling and work downwards, measuring and cutting each board length. We used tiny pin nails and construction adhesive to secure the planks to the wall, spacing them equally with spacers. You may need to use a hand saw or jigsaw to make the cuts around the outlets and light switches (we used both).

3) Spacing between boards– we found that the thickness of the plywood was the perfect thickness (just under .25″), so we just used a few off-cut squares of plywood as spacers. This creates that consistent shiplap spacing necessary for a finished look.
4) Finish with caulk or wood filler. You will have tiny hairline gaps in the corners, or along the baseboard and ceiling junctions, which you can fill-in with a little bead of paintable caulk. This gives a more polished finish. You can totally skip this step if you prefer the more rustic look!

5) Paint! It can be a little tedious to get your tiny paint brush in the gaps between the planks… so a pro-tip would be to paint the planks and base wall before you install the planks- then you can just touch up after install! If you don’t pre-paint, you can use a small paint brush between the planks like we did.


Before… 
Unpainted Shiplap 

Finished!
Links to Supplies:
1/4″ x 4’x 8′ Sanded Poplar Plywood https://www.lowes.com/pd/RevolutionPly-5mm-Poplar-Plywood-Application-as-4-x-8/50121135
Construction Adhesive https://www.lowes.com/pd/LIQUID-NAILS-Heavy-Duty-Off-White-Multi-Purpose-Construction-Adhesive-Actual-Net-Contents-10-Fl-Oz/3025116
Finish Nailer (and compressor)- we recommend renting one to make this project much easier if you don’t own one already! https://www.homedepot.com/p/rental/Dewalt-Air-Finish-Nailer-DWFP72155/309396360
Other notes:
- Try to use as many full-length continuous pieces to avoid extra seems, unless you’re going for that rustic plank look.
- We found that starting from the ceiling and working downwards allowed us to have a full plank at the top and created a more polished visual outcome. Whereas, if you chose to start at a different point, you would probably have a partial width board at the top and it would create a choppy effect.

I absolutely love how this shiplap transformed our entryway! Let us know how it goes if you decide to try this DIY Shiplap project too! 🙂
Cheers!
“Dabby”
Still curious? You may also want to check out our DIY Wainscotting post for more inspiration.


Ali
I love this idea of using plywood! You can’t even tell based on your pictures!
Dave
Thanks Ali, we really appreciate it!
Kristin
Excellent post and what a difference between before and after! Heading over to read the post about wainscotting next!!
Dave
Thank you so much Kristin!
Karla Renee Petersen
I live in a rental (long term with great relationship with owners) and now that the kids are bit older and less rough on the walls, I’ve gotten permission to do some simple updates/painting, etc. This is such a great idea for a “walk through” room between kitchen and living room. Alas, no table saw, nor room for one, so I will need to either talk my hardware store into cutting them for me, or find someone to help me with that part. I DO have a jigsaw. Thank you for this!
Dave
Karla, most big box home improvement stores have a large panel saw in the wood area. They might be willing to cut it for you.
Good luck!
Kayla
This looks so amazing! It looks and sounds pretty simple too.
Dave
Thanks Kayla! It really is!
Rachael
This is beautiful! Ive been trying to convince my husband we need shiplap in our bathroom for a while. I am definitely passing this tutorial on to him!
Dave
Thank you Rachael!
Vanessa
Hi! I’m not even a DIY-er but this gives me a lot of encouragement to upgrade our blah bedroom wall. Thank you!
Dave
Vanessa, that’s so great to hear! Good luck!